Actually, I had technical difficulties with a lot of stuff during this project. Gah, It's been tough. I didn't prime the fabric paint right so a lot of it disappeared, leaving only the white, and too much of that to say the least. It's since been fixed, but I'm not as happy with the final project as I first was.
But to the tutorial!
This tutorial isn't exactly... mine. Before I start, I need to announce that it's actually a mix of two different ones I found online: the circle skirt (from MADE) and the yard skirt (from anothercraftyday). My grandmother calls this one a broom skirt, and she leaned the pattern when she was a teenager in 4H, which I think is cool.
Both require no pattern and minimal sewing. The skirt takes about half an hour to make.
I started off wanting to follow the circle skirt pattern, but ended up with too little fabric (some metric conversions gone awry) so I found the yard skirt online and followed that one until I got to a found when I could return to the circle skirt pattern. I liked the waistband of the circle skirt, but it seems combining the two patterns was very difficult due to that little part. But here goes.
What you need:
- A yard long piece of fabric which you have painted like so.
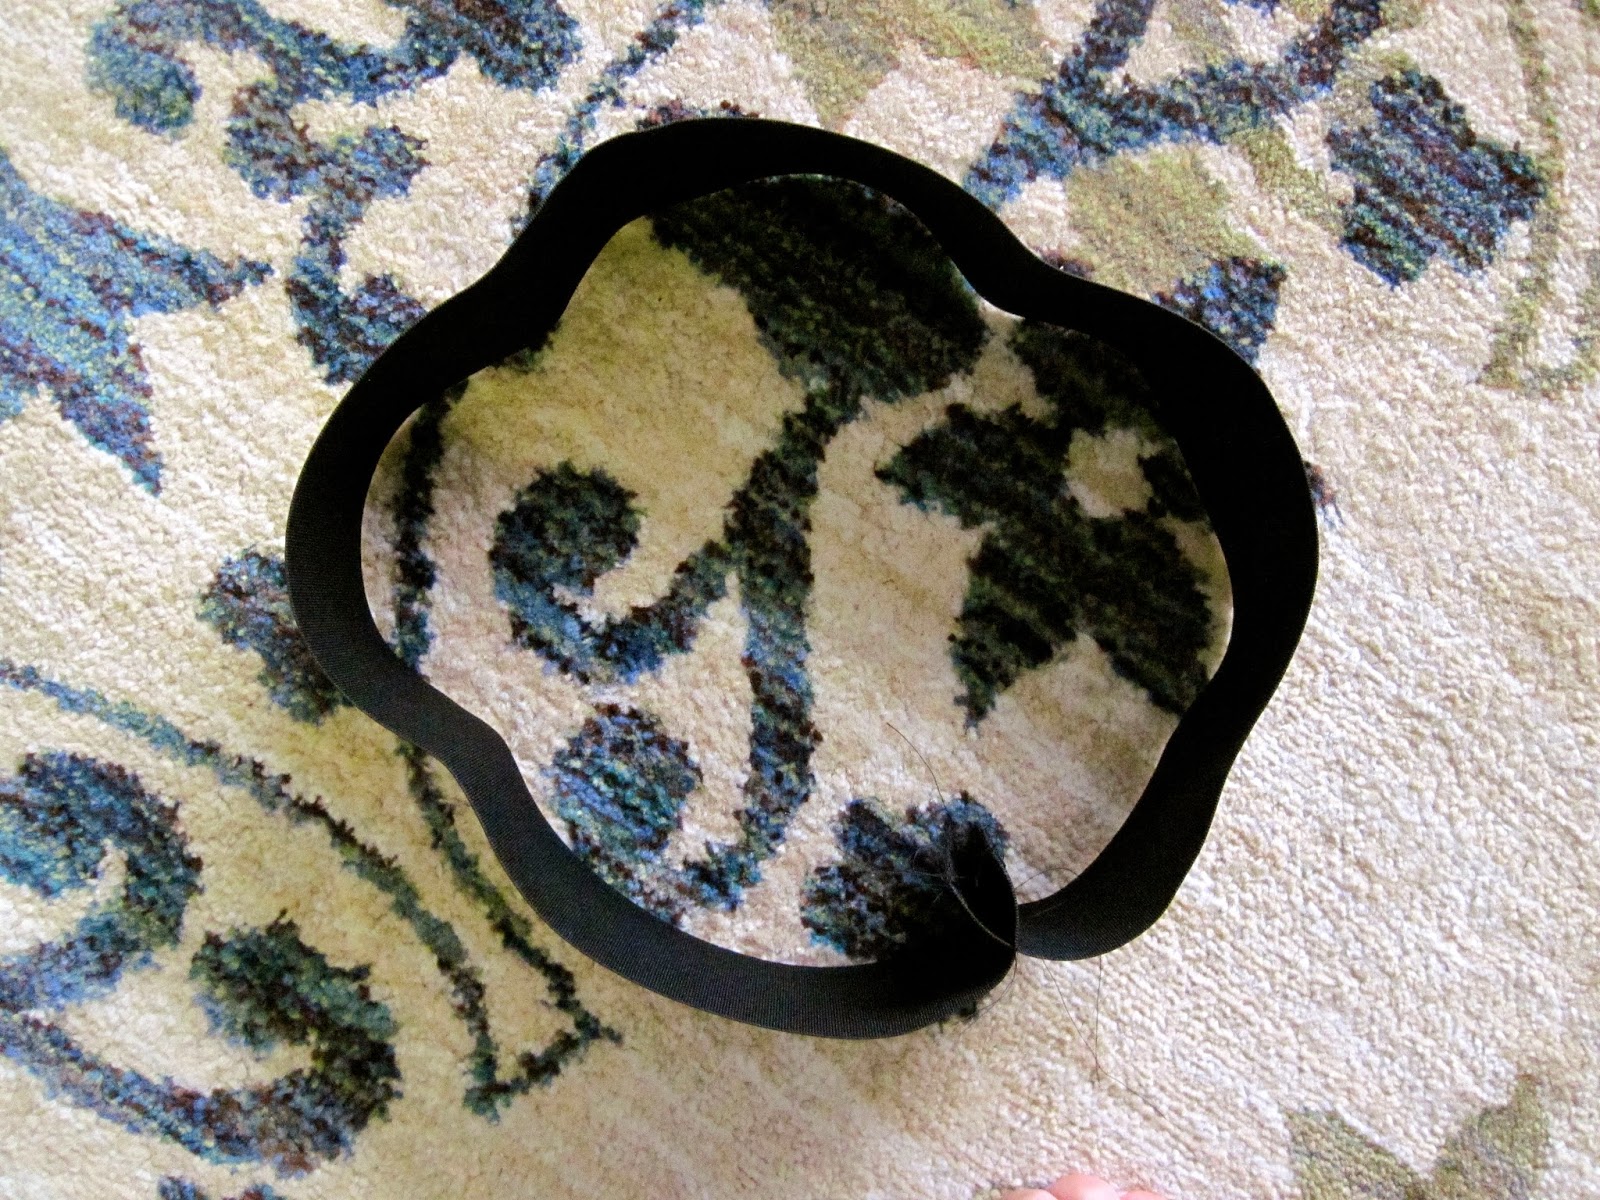
- A piece of 2 inch wide elastic (black)

Take your fabric and fold it in half along what would have been the fold on the beam in the shop. You're going to cut down this fold so as to have two pieces of fabric, each 36 x 22.
This will be about 90cm x 55cm for Europeans: however, since you are buying this in Europe, It'll actually be 1m x 50cm for a meter wide beam or 1m x 75cm.

In any case, it will look like this.
Sew the two shorter ends together, so as to have a tube. Stitch up the sides, right side together, then flip it right side out so as to see what the size is. Have a friend help pin it around your waist so you can see if you have too much fabric (in which case, you need to re-stitch the sides until you have a smaller amount) and figure out the length of the hem.


Hemming is fuuuuuuuun.
Next comes the waist. Start by finishing off the top edge with a zig-zag stitch.

You are going to have to run a piece of thread all around that waist to help gather all that fabric. Try to keep it even. I recommend using white, as it is easy to see, so will be easy to pull out one you are done with it. Make sure you placed a pin every quarter of fabric BEFORE you started gathering - this will help even out the pleats and line up with the elastic later.

Next, measure your waist. Cut the elastic EXACTLY to that length. Stitching it will take a tiny bit of length off, enough for the elastic to be tight when you wear it. This is good, because it's both flattering and comfortable.
Finish off the ends and stitch it together to create a loop.

Mark off each quarter with a pin and match it up with the skirt. Now you're ready to sew!

Stretch the elastic as you go around, and don't be afraid of the pleats. This was the toughest part and takes some practice.
Once you're done, cut the loose ends, pull out the white thread, and voila! Le tour est joué!
I'm sorry about the poor quality of the photo, I was alone without a tripod and no light. But anyway, this is the final result on me:

It's very comfortable, and, as anothercraftyday says in her tutorial, holds the flare position very well.
I hope you liked this tutorial! Check out the other ones on my blog, as well as those that inspired me, as I can assure you they are ten times better than mine.
A bientôt!
No comments:
Post a Comment